
Last updated November 15, 2026
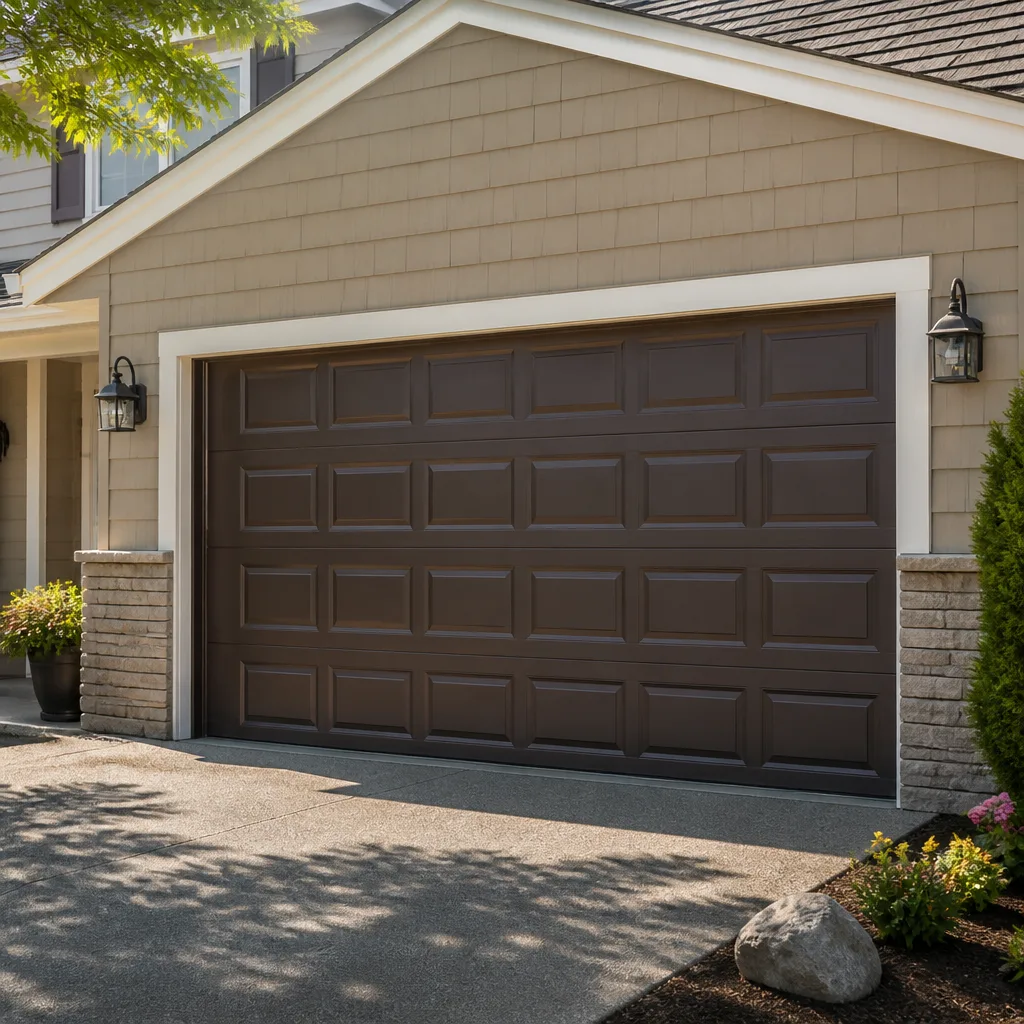 Raised-panel steel
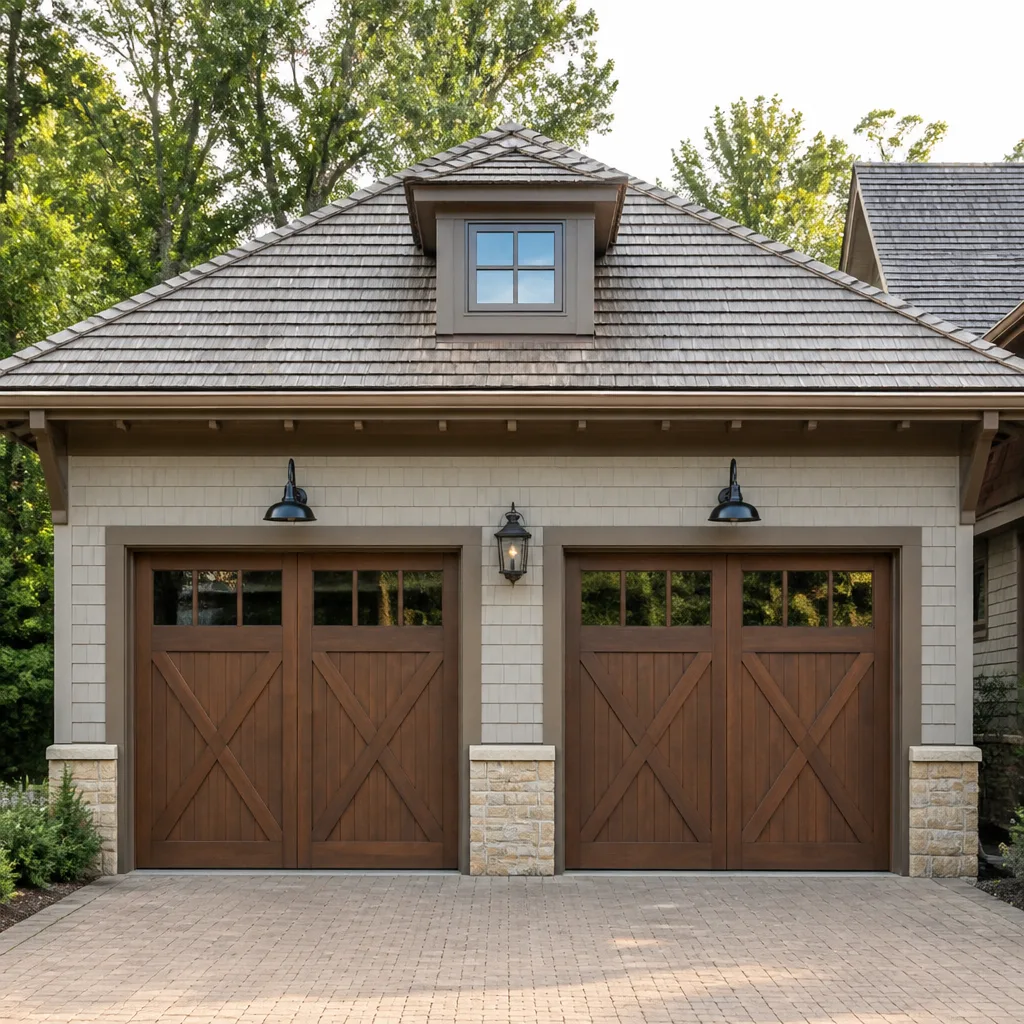 Carriage house
 Modern flush
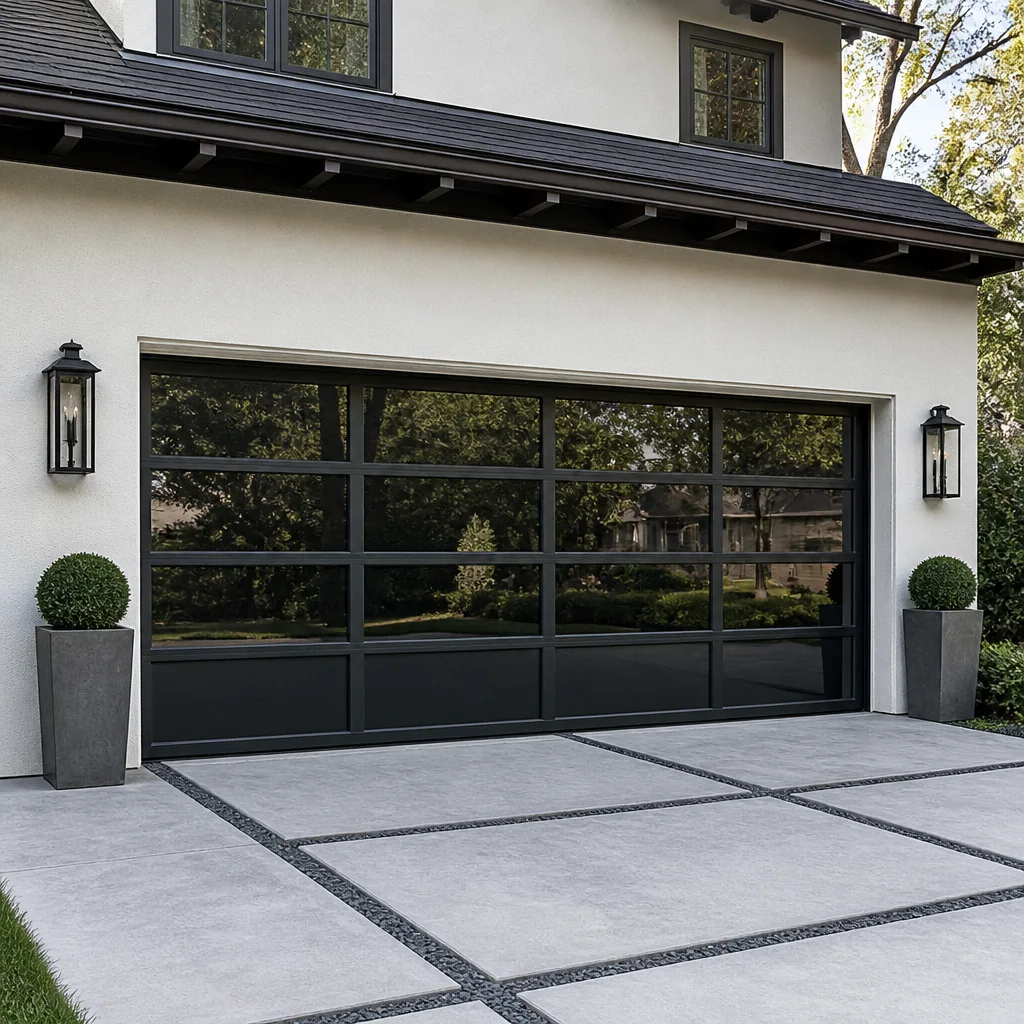 Full-view glass
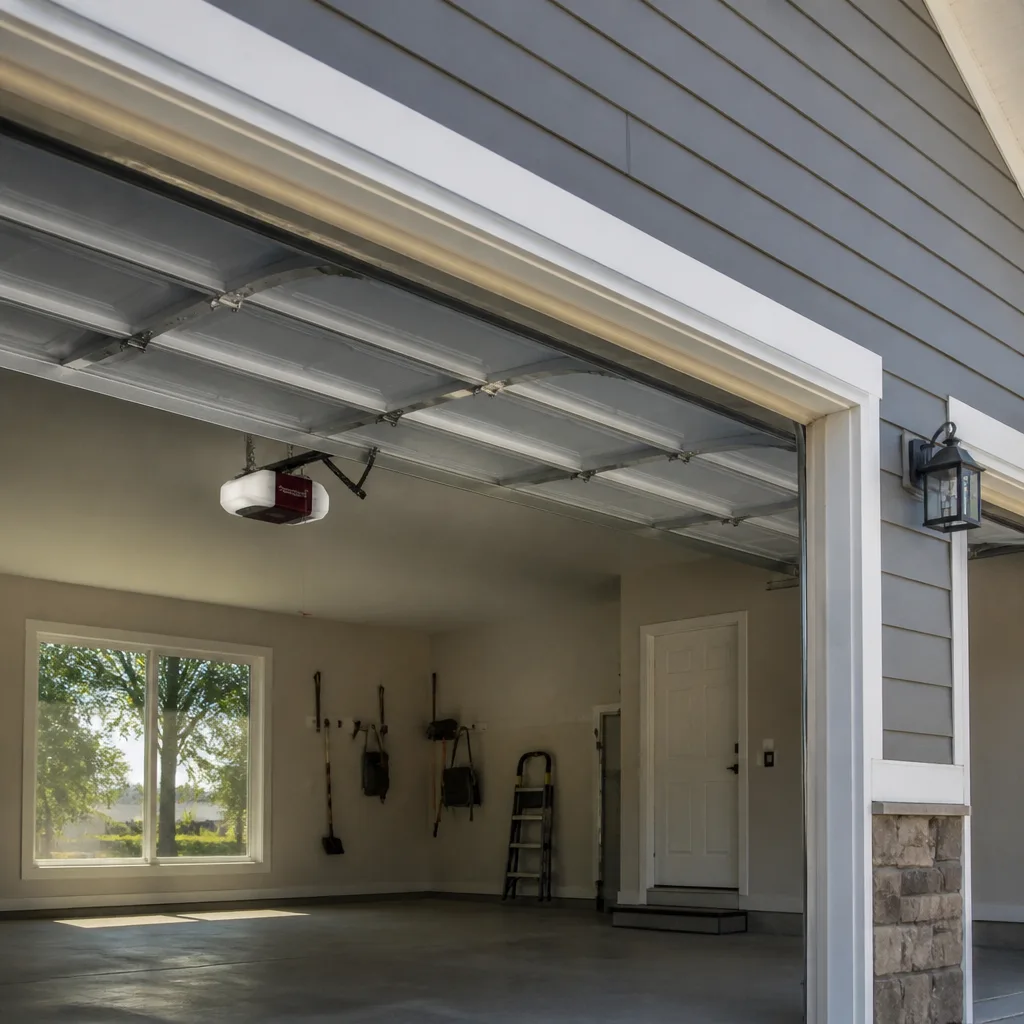 LiftMaster openers
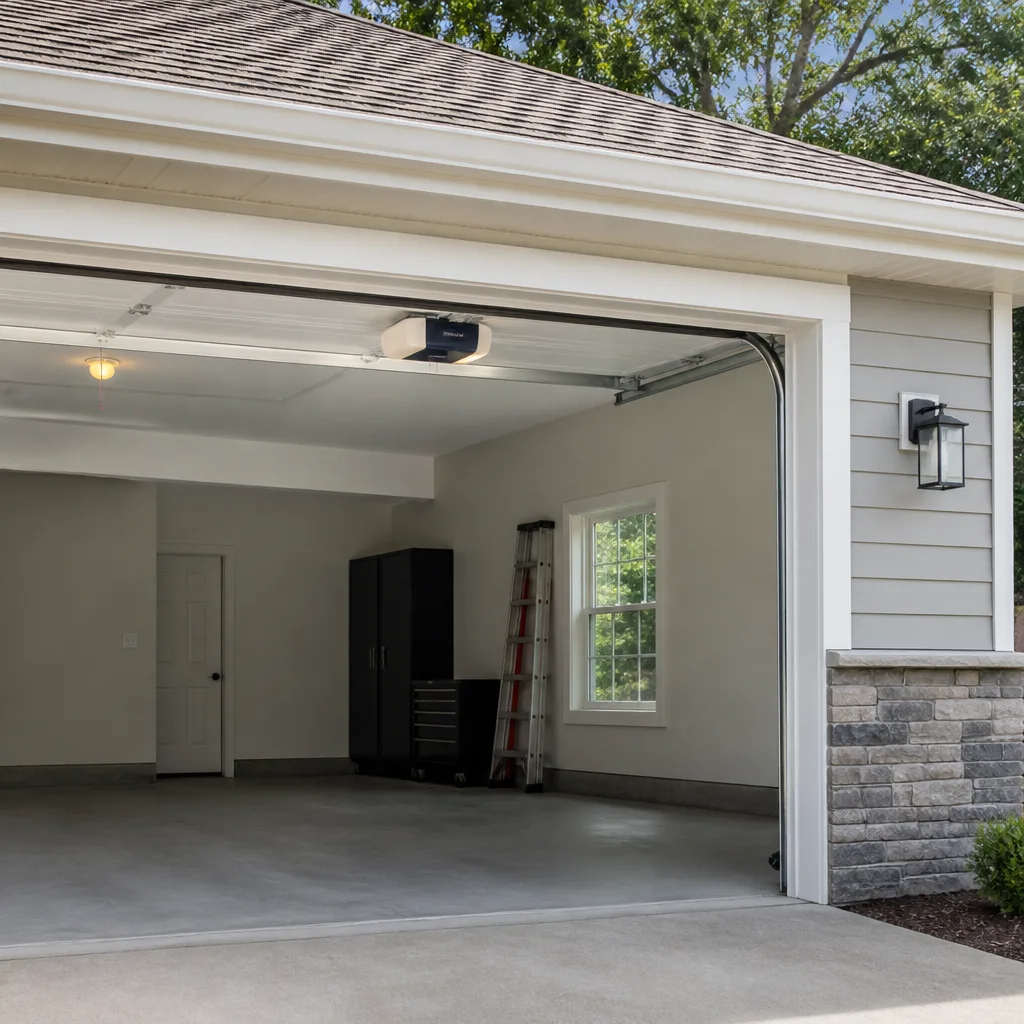 Chamberlain openers
Full 25-point door and opener safety check with every visit - springs, cables, rollers, tracks, and your LiftMaster or Chamberlain opener included
You get a price before we start. It does not change when the pro arrives.
Get your free estimateDIY vs Professional Garage Door: The Palm Bay Homeowner’s Decision Guide
Most homeowners approach a broken garage door with the same question: how hard can it be? That’s the wrong question. Torsion springs, the ones mounted on the bar above your door, hold hundreds of pounds of torque on a daily basis. A winding error doesn’t result in a scraped knuckle. It results in an emergency room visit. The real boundary between DIY and professional work isn’t skill level. It’s which tasks carry physical risk or legal liability in Florida, and which ones a competent homeowner can genuinely handle without either. This guide draws that line clearly for Palm Bay homeowners, task by task, so you spend your effort where it counts and hand off the rest.
Quick Answer
In Palm Bay, DIY is a reasonable choice for bottom seals, lubrication, roller swaps on extension-spring doors, opener remote programming, and panel repainting. Anything involving torsion springs, lift cables under tension, track straightening, or a full door installation requires a trained professional. Structural work and electrical changes at the opener may also trigger permit requirements you can’t pull as a homeowner. If the repair involves the counterbalance system, stop and call.
Styles & brands we work with
- Raised-panel steel
- Carriage house
- Modern flush
- Full-view glass
- LiftMaster openers
- Chamberlain openers
Table of Contents
- The Task Split: What’s DIY-Safe and What Isn’t
- Why Torsion Springs Are a Category of Their Own
- Florida Permit Rules and Where DIY Stops Being Legal
- The Hidden Cost of a DIY Opener Installation
- How to Judge a YouTube Repair Tutorial Before You Trust It
- Partial DIY: How to Split a Job With a Technician
- When to Call a Professional
- Frequently Asked Questions
The Task Split: What’s DIY-Safe and What Isn’t
The garage door is not one system. It’s three systems bolted together: the door itself, the counterbalance assembly, and the opener. Each carries a different risk profile, and the honest answer changes from system to system. Here’s how we break it down for homeowners across Palm Bay, especially the ones in two-car homes in Bayside Lakes and Lockmar where the garage door is the front door in daily use.
DIY-safe tasks
- Bottom seal replacement. The rubber or vinyl strip at the bottom of the door. No stored energy, no springs involved. Pull the old one, slide the new one in.
- Lubrication. Hinges, rollers, and the opener rail with a proper garage door lubricant. This is maintenance, not repair, and it’s the single best thing you can do yourself.
- Roller replacement on extension-spring doors. Since the springs on these sit beside the track, swapping a roller is a manageable job for a careful homeowner. On torsion-spring doors, leave the rollers alone.
- Opener remote programming. Pairing a new remote, replacing a battery, or connecting a smart opener to your home network. All safe, and all doable with the manual.
- Panel repainting. Cosmetic work. Palm Bay heat fades paint on the south-facing side of a door faster than most homeowners expect, and repainting a steel panel is well within DIY range.
- Weather seal on the frame. The trim seal between the door and the jamb, not the bottom seal under the door. No tension involved.
Professional-only tasks
- Torsion spring replacement. The single most dangerous job on the system. The spring is wound to match the door’s weight, and one wrong turn sends it flying.
- Lift cable replacement. Cables run from the bottom corner up to the drums and hold the full counterbalance tension. Slipping one free is a hand injury waiting to happen.
- Track realignment. Straightening a bent track back into true takes the right tools and an understanding of the door’s geometry. A home “bend it back” approach usually makes the misalignment worse.
- Spring winding or balance adjustment. If your door is heavy or drops on its own, the counterbalance is out of balance. That’s a professional call.
- Full door installation or replacement. Weight, torque, and balance all have to be right on day one. This is a measured, scheduled job, not a weekend project.
The pattern is clear: if a spring or cable under tension is involved, it’s not a DIY job. Everything else is fair game. If you’re unsure where your specific repair falls, our garage door repair team can tell you over the phone before you pick up a tool.
Why Torsion Springs Are a Category of Their Own
Torsion springs store enormous energy. Even the smaller springs on a single-car door carry roughly the weight of an adult under tension. When a technician winds a torsion spring to the correct torque, the work is deliberate and measured. When a homeowner with a winding bar and a video does it, one wrong foot of travel and the bar whips. We’ve seen the aftermath more than once, and it never looks like the tutorial.
Here’s what actually makes torsion spring work non-negotiable as a professional job:
- The right spring has to match the door. Spring wire gauge, inside diameter, and length all determine lift capacity. An undersized spring won’t lift the door. An oversized spring overworks the opener.
- The winding bar has to be seated fully. A partially inserted bar can slip free under load. That’s the injury scenario.
- The number of turns has to match the spring spec. Not the door, not the size, not “one more for luck.” The spring’s specification.
- The door has to be rebalanced after the swap. A new spring changes the door’s balance. If the counterbalance isn’t re-tuned, the opener strains and the door wears unevenly.
- The old spring has to come off cleanly. Some springs release without drama. Some don’t. A trained technician reads the door and knows which kind is in front of them.
Our technicians have up to 14 years of experience, and every one of them treats a torsion spring as a two-person job where the safety of the person winding comes first. There’s no version of spring work where DIY is the smart play. Call (866) 901-6506 and we’ll give you an honest read on what’s involved.
Florida Permit Rules and Where DIY Stops Being Legal
Florida separates garage door work into two bins: unregulated maintenance and permitted work. The line isn’t always obvious, and homeowners routinely cross it without realizing. The best move is always to ask the City of Palm Bay’s building department directly before starting. Here’s the practical shape of it.
Generally unregulated maintenance
- Replacing a bottom seal, weatherstrip, or jamb seal
- Lubricating hinges, rollers, and the opener rail
- Repainting a panel or the whole door
- Replacing batteries or programming a remote
- Installing a residential opener only where no electrical circuit is being modified
Work that may require a permit
- Replacing the entire door. Door replacement affects wind rating and the structural attachment to the framing. Palm Bay sits in a wind zone that requires rated assemblies, and a permitted replacement is how that gets documented.
- New construction openings or header changes. Any structural change to the opening gets a permit.
- New electrical circuits for an opener. If your garage has no existing opener outlet, wiring one in requires an electrical permit, and a licensed electrician has to pull it. A homeowner cannot self-pull this permit in Palm Bay.
- Reinforcement for wind-rated assemblies. If a permit was required for the original build, changes to that assembly are typically permitted work as well.
Permits aren’t optional and they aren’t a technicality. An unpermitted door replacement can become a problem at sale, at insurance renewal, or after a storm. Professional installation through a licensed contractor is one way to keep the paperwork clean, and a free estimate from our team is a good place to get an honest read on whether your job needs a permit at all.
The Hidden Cost of a DIY Opener Installation
The opener is the most tempting DIY job in the garage, and it’s the one with the most invisible liability. The box says it’s a weekend project. What the box doesn’t say is that the warranty is often void the moment the opener is installed without the manufacturer’s matching accessories or without the torque calibration the installer is supposed to run. A LiftMaster or Chamberlain unit wired up with a third-party rail and no calibration step is a warranty claim that never happens.
Here’s what gets skipped in a typical DIY opener install:
- Torque calibration. The opener’s force settings have to match the door’s weight and travel. A door that needs too much force will strip a gear or damage the header bracket over time.
- Safety reverse testing. The opener must reverse on contact and under obstruction. A mis-adjusted opener on a home with children or pets is a serious safety hazard, not a minor annoyance.
- Matching accessories. Smart-home modules, wall consoles, and remotes often only work correctly within one brand family. Mismatched accessories produce the “it works sometimes” failures we get called out for.
- Rail tension and alignment. An opener rail that isn’t straight will bind the door and eventually pull the opener loose from the ceiling.
Opener repair is a specialty at our shop, not a side task. We work on LiftMaster and Chamberlain units daily, and we know the failure modes that come from an install that skipped a step. If you’ve already installed an opener yourself and something is off, that’s a callable problem. Our garage door opener repair page walks through the diagnostics we run on-site.
How to Judge a YouTube Repair Tutorial Before You Trust It
Not every garage door tutorial is dangerous. Some are genuinely helpful for the safe tasks listed above. The problem is that the video doesn’t know your door, your spring, or your opener model. A tutorial that was right for a 2005 extension-spring door can be flat wrong for a newer torsion system in a Palm Bay home. Here’s the filter we suggest homeowners use before following any repair video.
Red flags in a tutorial
- No mention of brand or model. A real repair guide for an opener or door will say which system it applies to. If it doesn’t, treat it as generic and verify against your own manual.
- Instructions for spring or cable work. Walk away. Even when a tutorial is technically correct, the variance between real doors means a small mistake is still a serious one.
- No safety step before the mechanical step. Any tutorial that touches the door without disconnecting the opener and locking the door first is unsafe by omission.
- Editing cuts during tension work. If the video cuts mid-winding, it’s skipping the part where the risk lives.
- Fake urgency or “one weird trick” framing. Real repair advice is boring and precise. Anything else is content, not a guide.
- No follow-up for balance or function test. A correct repair ends with a test of the whole system, not just the part.
A good tutorial looks like this
- It names the door or opener brand and the specific model range
- It shows the door locked and the opener disconnected before work begins
- It walks through a balance test at the end
- It tells you when to stop and call a pro, by name and task
Even a good tutorial won’t tell you when your specific door is in worse shape than the one in the video. That judgment call is what you’re paying a technician for, and it’s the reason we always diagnose before we quote.
Partial DIY: How to Split a Job With a Technician
There’s a middle path, and it’s underused. Some homeowners want to handle the prep, source the parts they already know are correct, and let a trained technician step in for the high-risk portion. This works when the split is clear and when the contractor you’re calling is willing to be flexible. Here’s how to structure it.
- Identify the risky step. Torsion spring removal or reset, cable replacement, or track straightening. That’s the professional’s portion.
- Handle the safe prep yourself. Clear the garage, remove obstructions, take clear photos of the current setup, and note the door and opener brand and model for the technician.
- Ask before you buy parts. A spring has to match the door weight, not just the door size. If you’re buying, confirm the specification with the technician first. If you’re buying an opener, confirm the door and the opener are compatible.
- Get a written scope. The estimate should list exactly what the technician is doing and what you’ve handled. That keeps the price clean and the responsibility clear.
- Stay off the door while the technician is working. Not a small point. A door out of balance can move unexpectedly when touched.
- Do the final test yourself. After the technician finishes, run the balance test and the safety reverse test in their presence. That way any adjustment gets made before they leave.
Our team at Unity Garage Door Repair works with homeowners on this split regularly. If a job is set up correctly, a half-and-half approach can make sense. If it isn’t, we’ll tell you that too. We work on any of the major brands – Raynor, Genie, LiftMaster, Chamberlain, and the rest – so the conversation starts from familiarity with what’s in your garage.
Common Mistakes to Avoid
- Ignoring the balance test. A door that lifts by hand with barely any effort is in balance. A door that feels heavy or drops on its own at midpoint has a counterbalance problem. Skipping the test means you keep using a door that’s straining the opener with every cycle.
- Buying springs by door size. Spring size isn’t door size. Wire gauge and length determine lift capacity, and getting it wrong puts the door back to failing in a few months. Always match spring to door weight.
- Running the opener with the door latched. A habit in Palm Bay homes after storm prep. Running the opener with the manual latch closed strips the opener’s gear in one cycle. Check the latch before you hit the button.
- Overtightening the bottom seal. The bottom seal needs to touch the floor without compressing so hard that it binds. If the door shudders when it closes, back the seal off.
- Winding a torsion spring with one bar. Two winding bars are the standard for a reason. A single bar is the exact scenario where the spring releases and the bar travels.
- Assuming a YouTube tutorial matches your opener. Palm Bay has a wide range of opener vintages, from older Craftsman chain drives to modern LiftMaster and Chamberlain belt units with smart-home modules. The remotes, safety sensors, and calibration steps differ substantially between them.
- Stopping the door mid-travel for a “quick look.” Doors are designed to run to full open or full close. Leaving a door halfway on a hot Palm Bay afternoon puts uneven tension on the spring.
- Skipping the permit call before replacement. A door replacement without a permit creates a paper trail problem that tends to surface years later. One call to the city’s building department settles the question before work starts.
When to Call a Professional
Call a professional if any of the following is true: the door moves heavy or drops on its own, a spring looks stretched or is visibly broken, a cable is frayed or off the drum, a track is bent, the opener reverses erratically, the door is more than a gentle push out of level, or you’re considering a full door replacement or opener replacement. Also call if the opener is a smart unit and you haven’t been able to get it to pair with your network. These scenarios sit on the wrong side of the DIY line for a reason. They carry physical risk or liability that doesn’t need to be yours.
Unity Garage Door Repair offers free estimates in Palm Bay. Call (866) 901-6506 to walk through your situation. We answer 24/7. Fast dispatch from 7am to 7pm, Sunday through Friday. We diagnose before we quote, and the price in the written estimate is the price you pay. No surprises on the invoice.
Frequently Asked Questions
Sometimes, yes, on the small tasks – bottom seals, lubrication, rollers on extension-spring doors. A bottom seal typically runs $30 to $80 in parts and takes under an hour. A professional repair for a spring, cable, or track typically runs $180 to $340 for one torsion spring, with a matched pair usually replaced together at roughly twice that, plus a service component. Do the math carefully: DIY saves money only when the job is genuinely in the safe category. If a mistake costs you a second repair, the savings disappear. Call (866) 901-6506 if you’re on the fence – estimates are free.
Yes. A torsion spring stores hundreds of pounds of force while wound, and the winding bars are the only thing holding it in check during replacement. A slip during winding is the exact scenario where a homeowner ends up in the emergency room, not a sprained wrist at the worst. There’s no version of a torsion spring replacement that belongs in the DIY column, even with a good tutorial. This is the single clearest boundary in the DIY vs professional question.
Technically, no, not safely or practically. A full door replacement involves raising and securing a door on structural brackets, matching wind-rated assemblies to the opening (which is required in this wind zone), and balancing the counterbalance system after installation. It also commonly requires a permit, and the assembly has to be documented correctly. This is a measured, scheduled job for a licensed contractor, not a weekend install. Our team handles full installations and can give you a written scope before work begins.
Often, yes. Most major brands including LiftMaster and Chamberlain require installation by a qualified technician with matching-brand accessories and the standard calibration steps for warranty coverage on the opener itself. A DIY install that skips torque calibration or uses mismatched accessories is a warranty claim waiting to be denied. If you’ve already installed one yourself and something’s not right, our garage door opener repair team can diagnose what’s happening and get it working correctly. Call (866) 901-6506 for a free estimate.
Some do, some don’t. Routine repairs like spring replacement, cable replacement, roller swaps, and lubrication are typically unregulated maintenance and don’t require a permit. A full door replacement or any new electrical circuit for an opener almost always requires one. The safest move is to call the City of Palm Bay’s building department before replacing a door or adding a circuit. Ask the specific question for your job – they’ll answer it in minutes and save you a headache later.
Yes, and it’s a reasonable approach. Homeowners across Palm Bay often handle prep, sourcing, and repainting, then bring a technician in for the spring, cable, or track portion. The key is to agree on the split up front, in writing, before any work starts. Ask the technician what they want you to have ready. If they’re flexible and clear about the scope, partial DIY works well. If they won’t provide a written scope, that’s a sign to call someone else. Our team is happy to structure a job this way – call (866) 901-6506 and we’ll talk through the split.
The Bottom Line
DIY is a legitimate choice for a defined list of garage door tasks: bottom seals, lubrication, rollers on extension-spring doors, opener remote programming, and repainting. Everything that touches the counterbalance – springs, cables, balance – is professional work, full stop. Opener installation deserves professional attention if you want the warranty intact, and door replacement belongs in the professional column both for safety and for permits. The line isn’t about skill. It’s about consequences. Once you know where the line sits, the decision for your Palm Bay home gets simple: handle the safe tasks yourself, call for everything else, and get a written scope every time. That’s how you keep your garage door working correctly without putting your hands in the wrong place.
For an honest read on your door and a free written estimate, call (866) 901-6506. We answer 24/7. Fast dispatch from 7am to 7pm, Sunday through Friday. We’ll diagnose before we quote, explain the fix clearly, and get the right fix for your door.
Written by the team at Unity Garage Door Repair.
See the difference
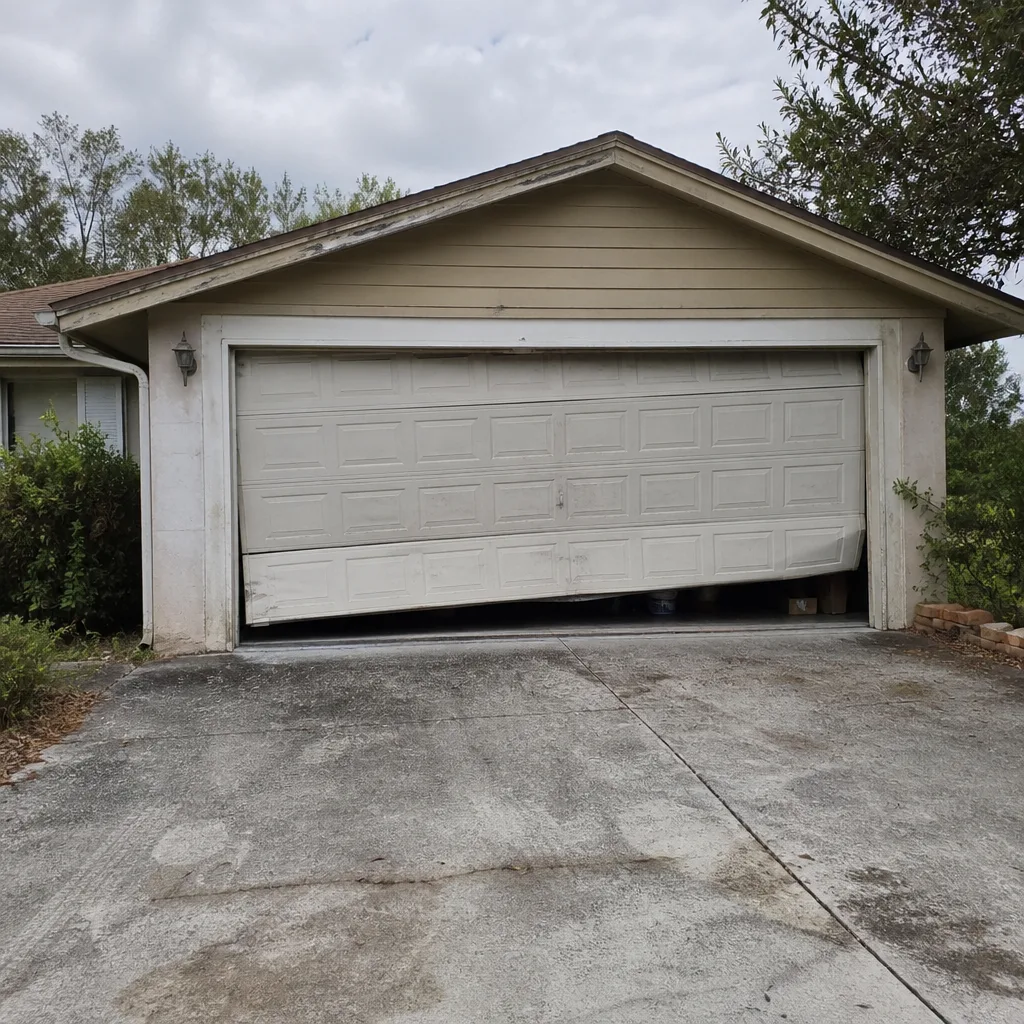 Before
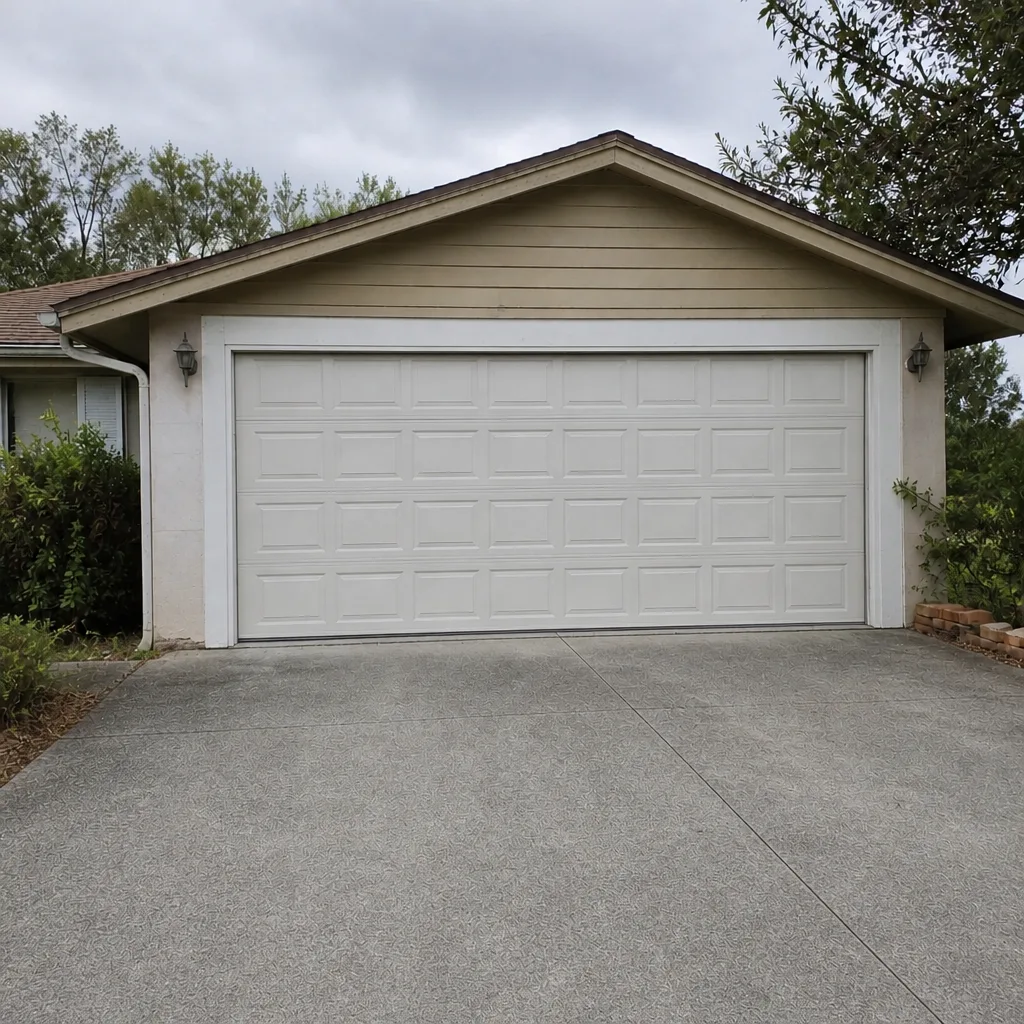 After
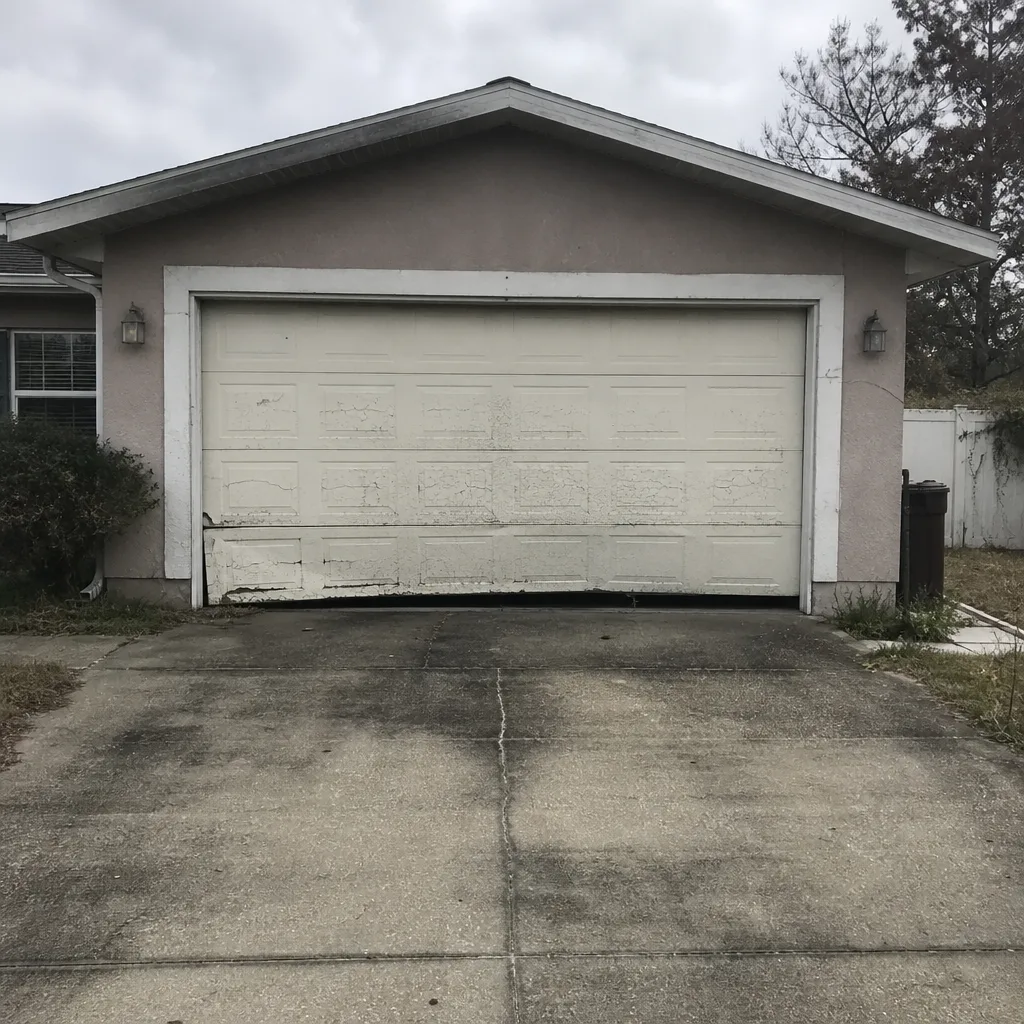 Before
 After
 Before
 After